

The Splash Stache,
start to finish.
How the Stache Mesh stops the splash, how to install it in three steps, and how to keep it fresh for months.
Splash happens. The Stache stops it.
Splash comes down to one thing: a stream hitting open water. The water has nowhere to go but up and out, onto your floor and your seat.
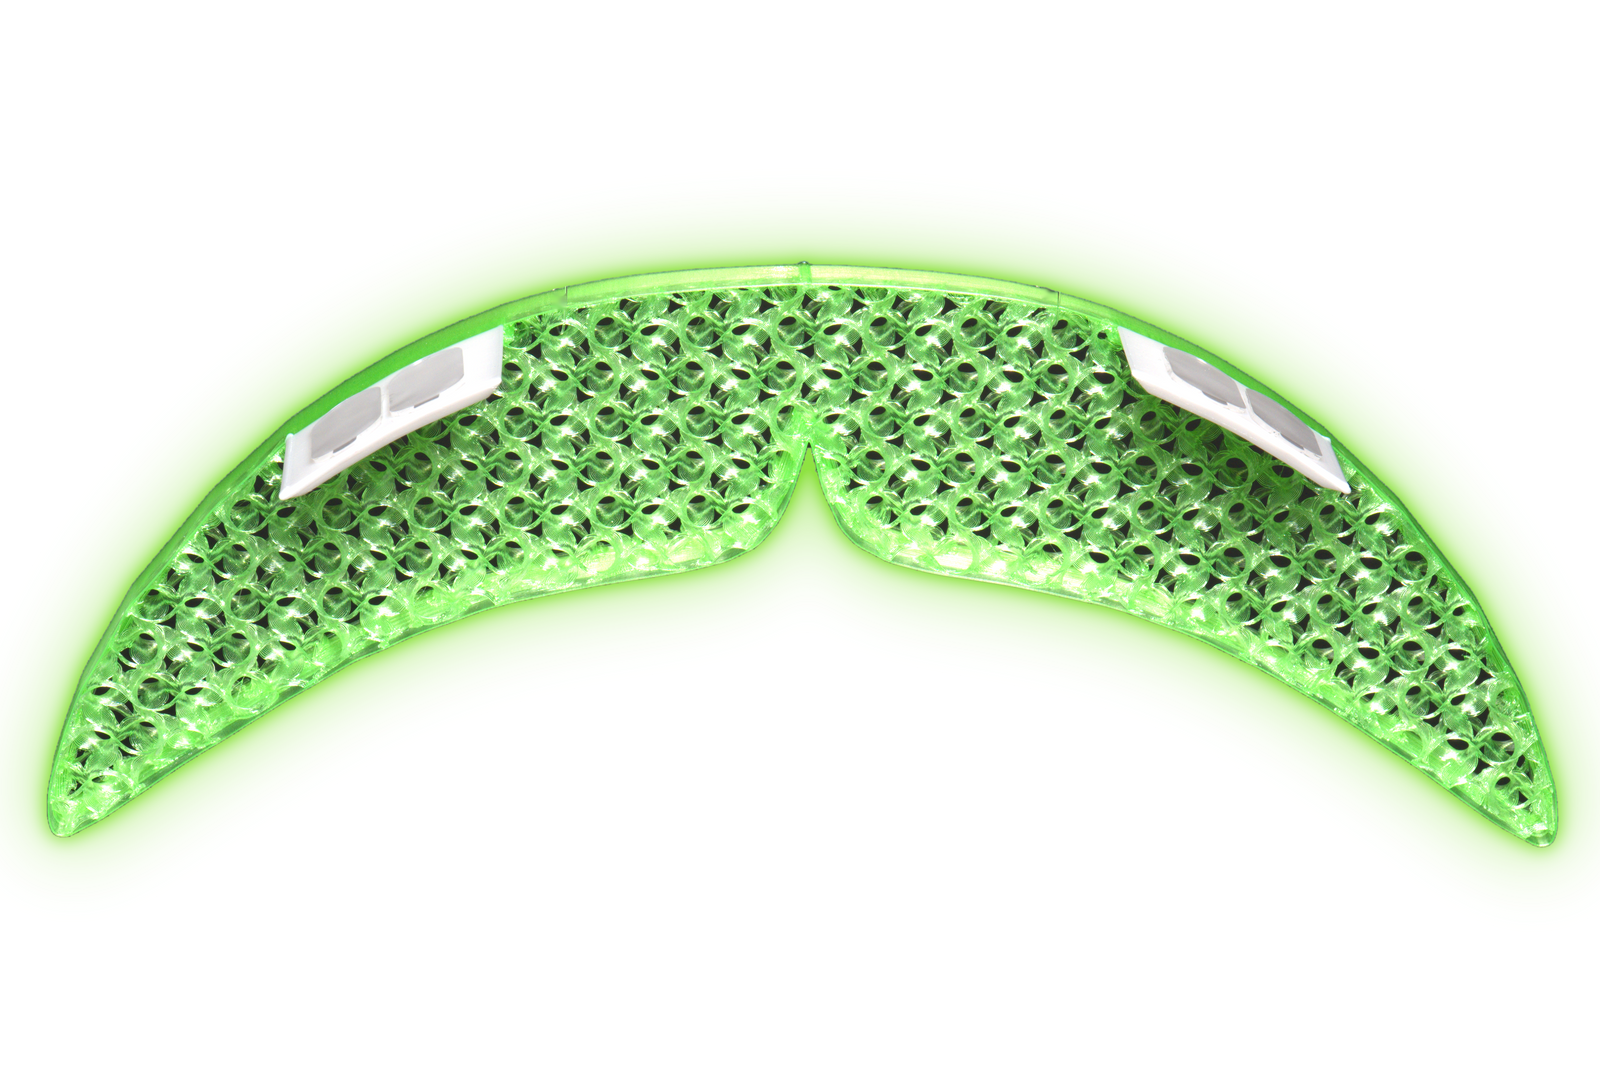
Thousands of tiny cells, working at once.
The green surface is a dense mesh of tiny cells facing down into the bowl. Your stream passes under it and lands in the water like always. The splatter that rebounds hits the mesh instead of escaping, and every cell catches a piece and drops it back in. Less mist for your floor. Less spray for your seat.


The handlebar isn't just for show.
The Stache mounts to the back of the rim and hangs into the bowl. The crease at the center is your aim point, and everyone aims for it regardless of height. That gives you the steepest, cleanest angle into the water, with the mesh sitting right where the splatter wants to go. Hit the mustache itself and the splash is still minimal.
Installs in three steps. Holds for the long haul.
Mounts to the back of the rim with nano tape. Grips hard, leaves no marks, and fits any standard porcelain bowl.
Prime and align.
Fan on. Adhesion promoter on the clean, dry porcelain where the connectors sit. Then the alignment stickers at 11 and 1 o'clock. The bottom edge of each sticker is your height line.
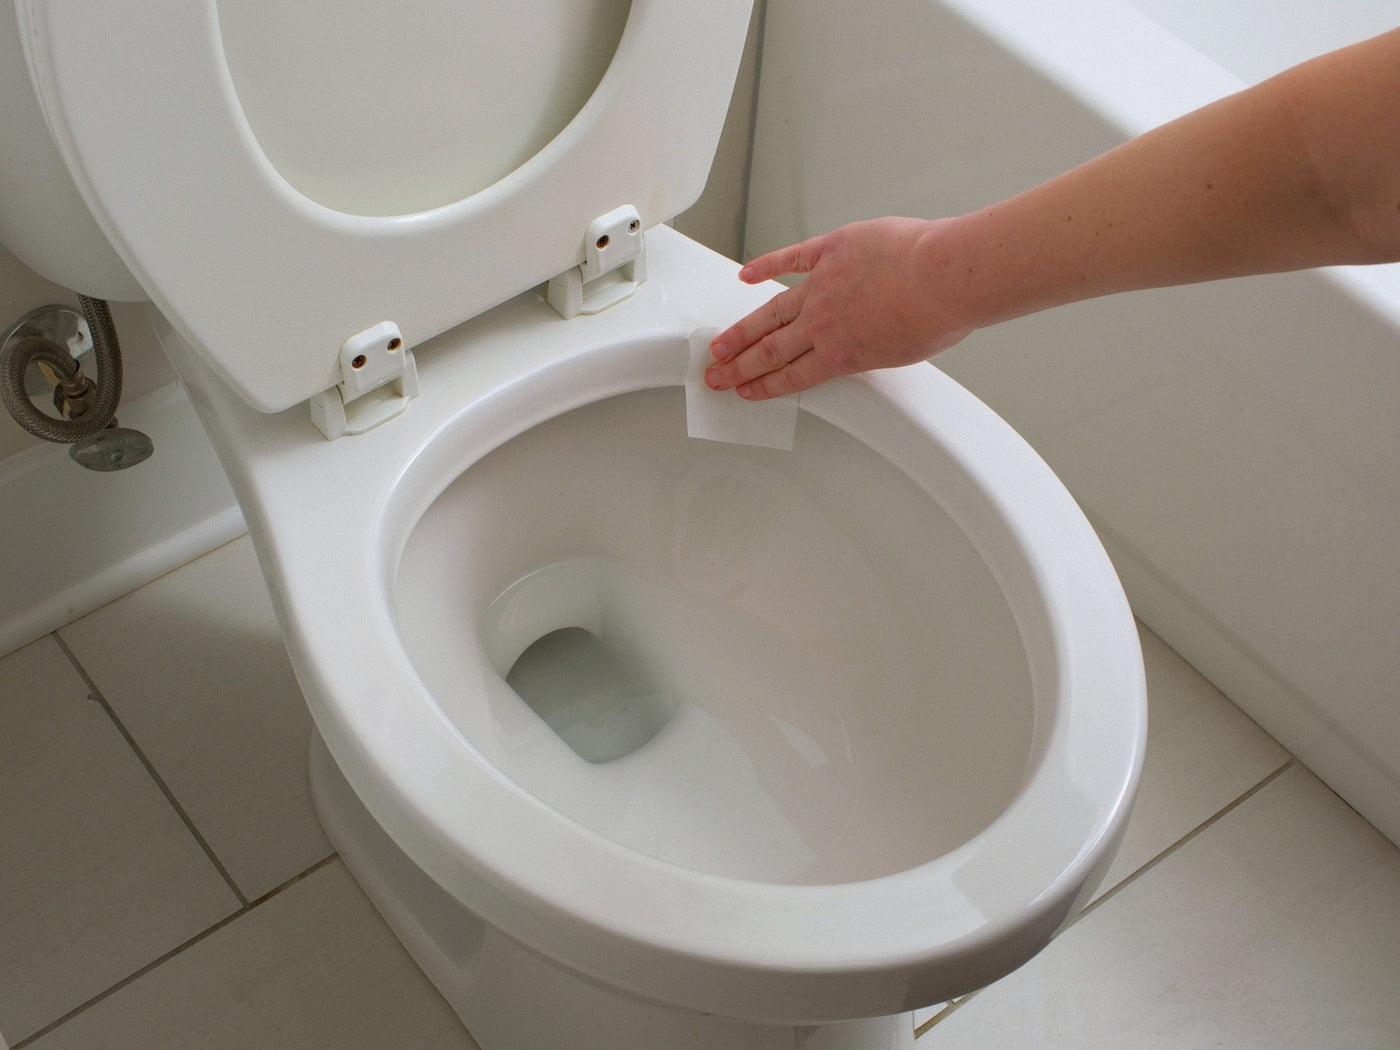
Peel and position.
Peel both liners off the connectors, pulling down and away. Come up from below until the connector tops meet the bottom of the stickers.


Press and hold.
Press both connectors firm and even for 20 seconds. Use it right away, but keep the connectors dry for 24 hours while the tape reaches full strength. No splashes, no cleaning, no wiping.
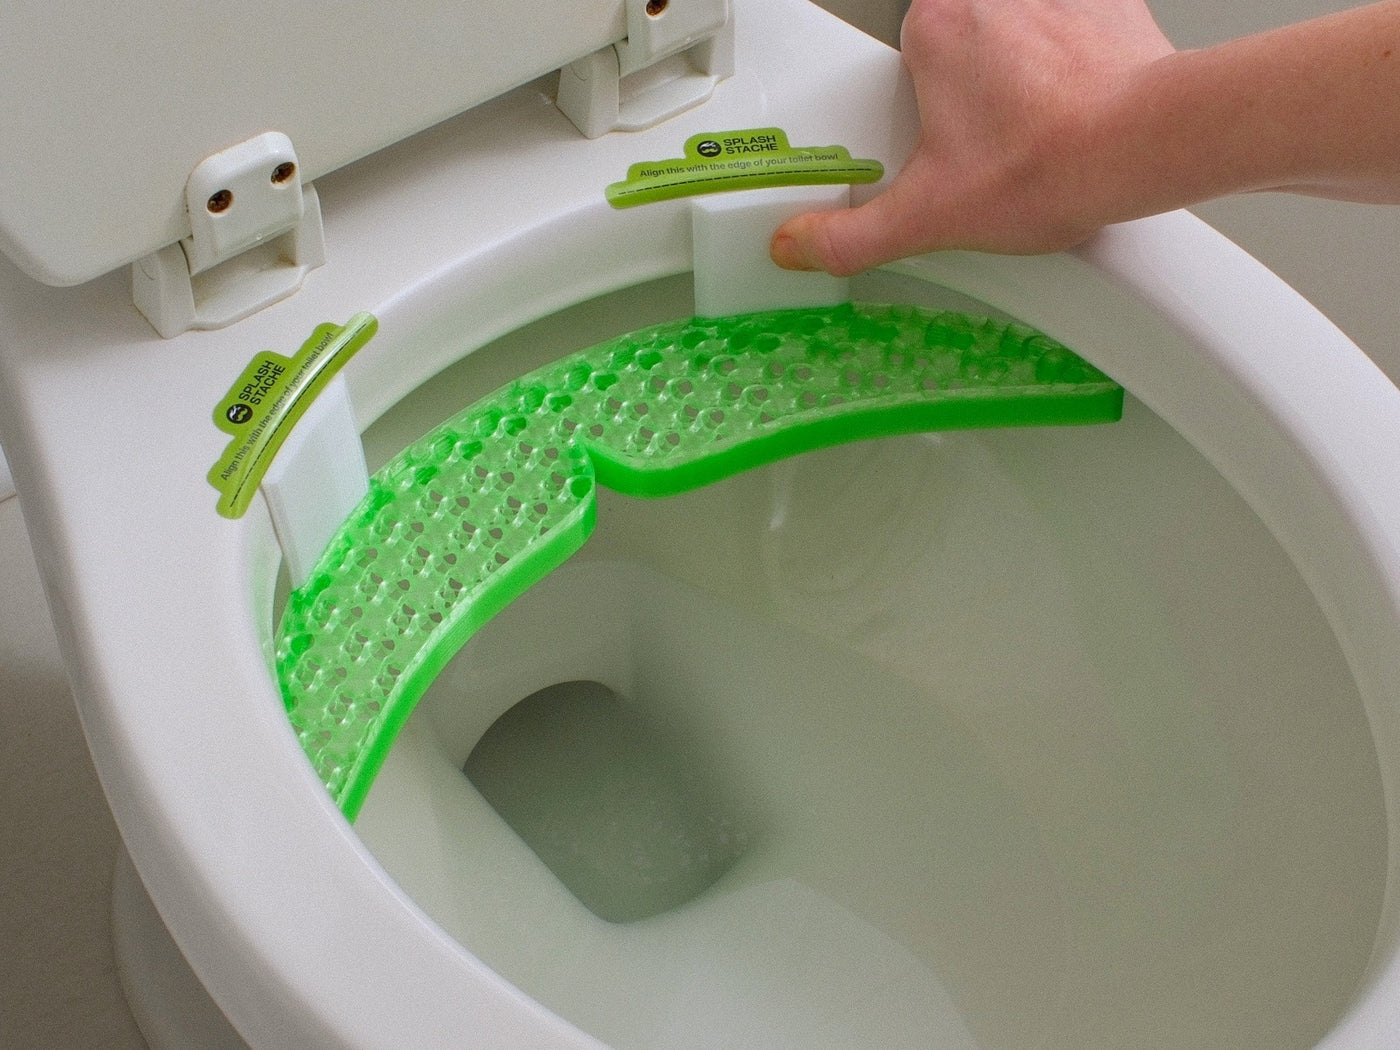
Done.
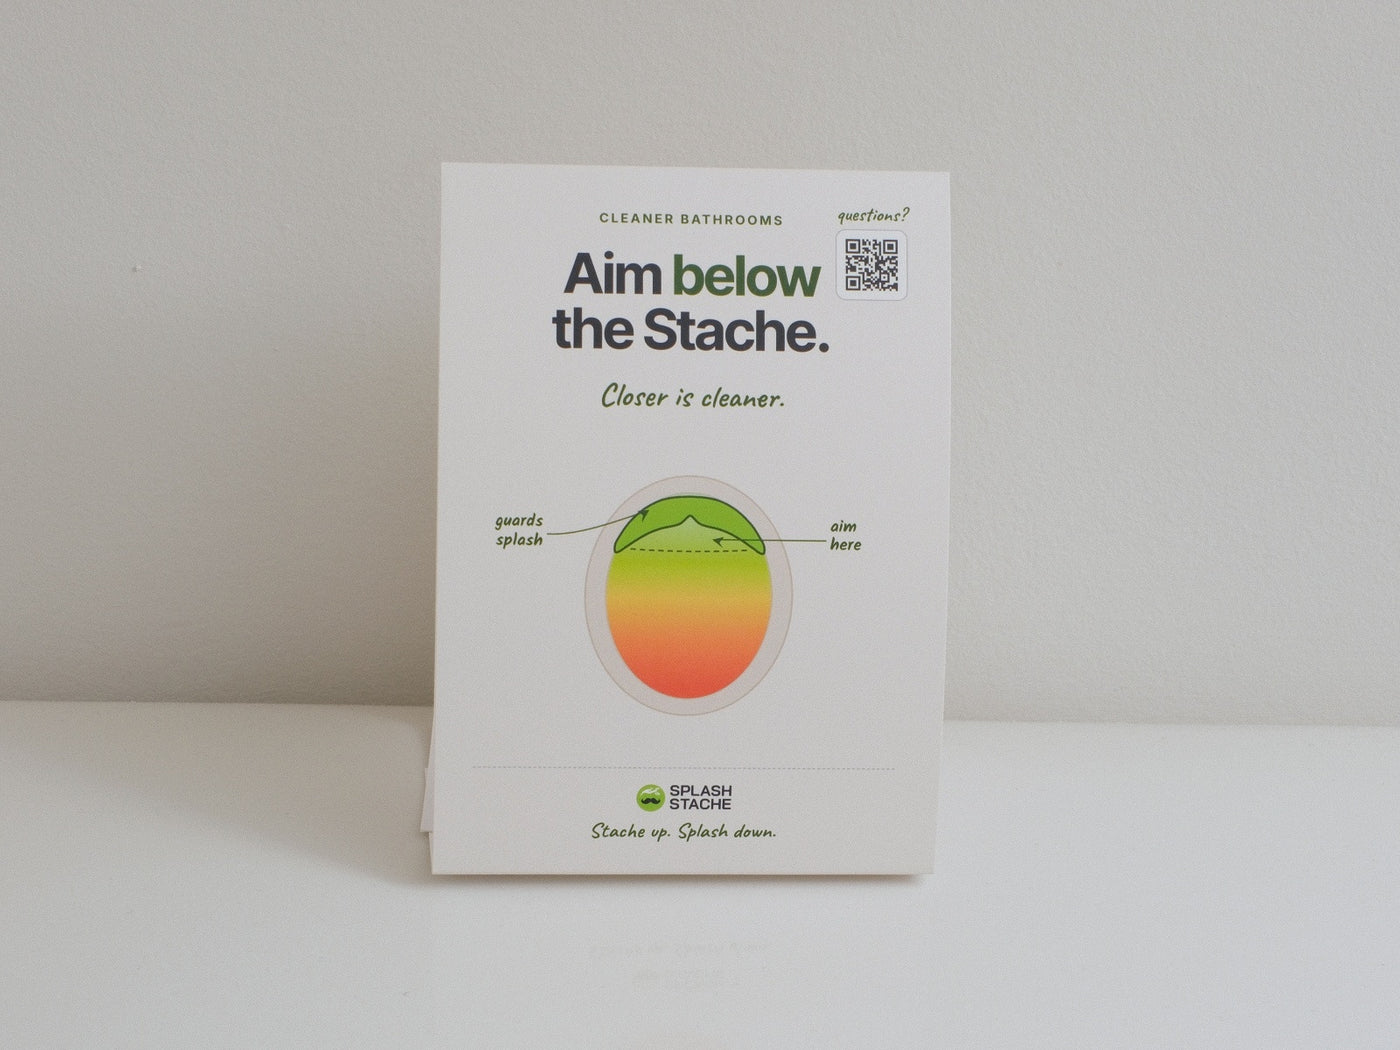
Peel the stickers off the rim and throw them away. Set the guest guide on the tank so everyone else knows where to aim. That is it.

Keeping it fresh.
It lives in the bowl, so cleaning is easy. One rule: skip the harsh sprays and the bleach.
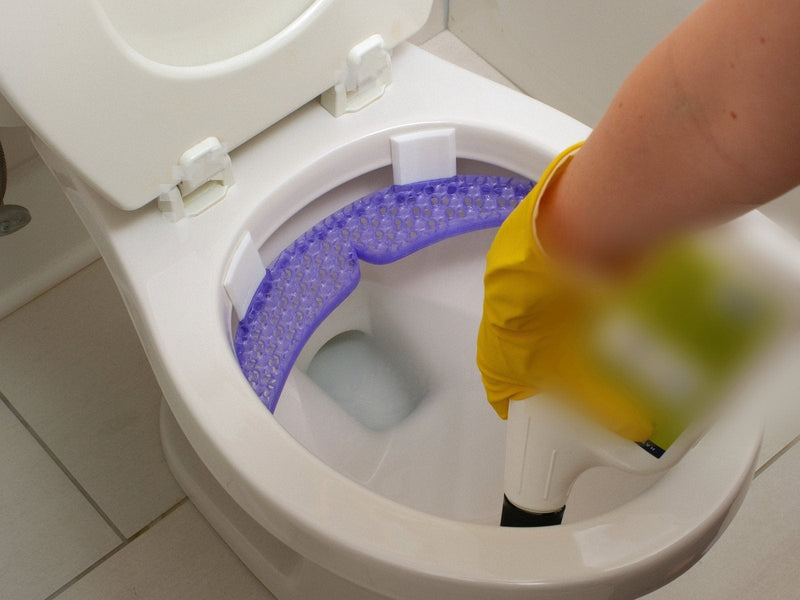
Clean the lower bowl
Non-spray cleaner on the bowl below the Stache. Gel, drop-in, or pourable. Let it work as directed.
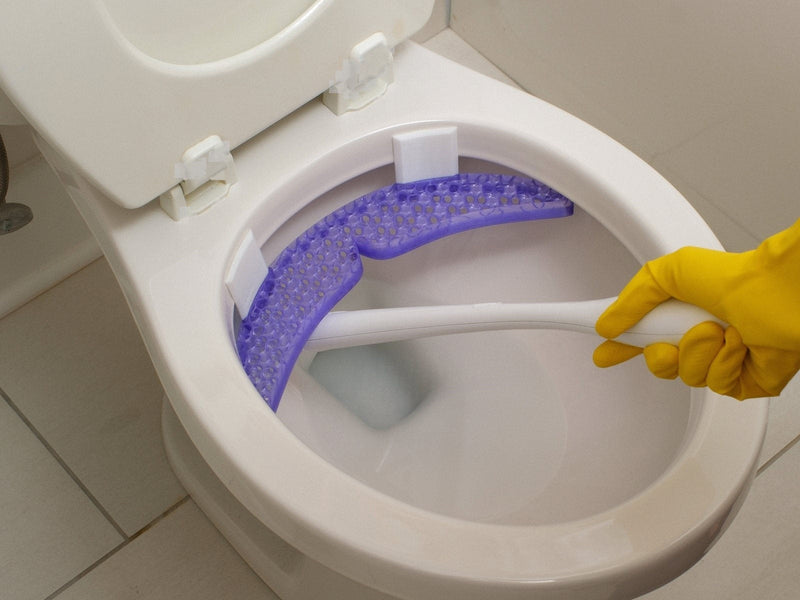
Brush and flush as normal
Brush and flush as normal. There is plenty of room to get the brush under the Stache.
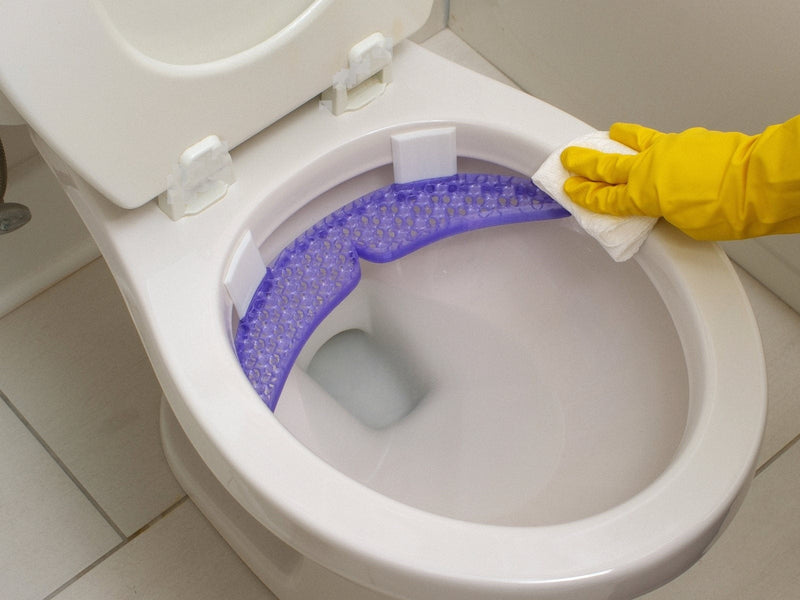
Wipe the rim and upper bowl
Spray your usual cleaner onto a rag, not into the bowl, then wipe the rim and upper bowl.
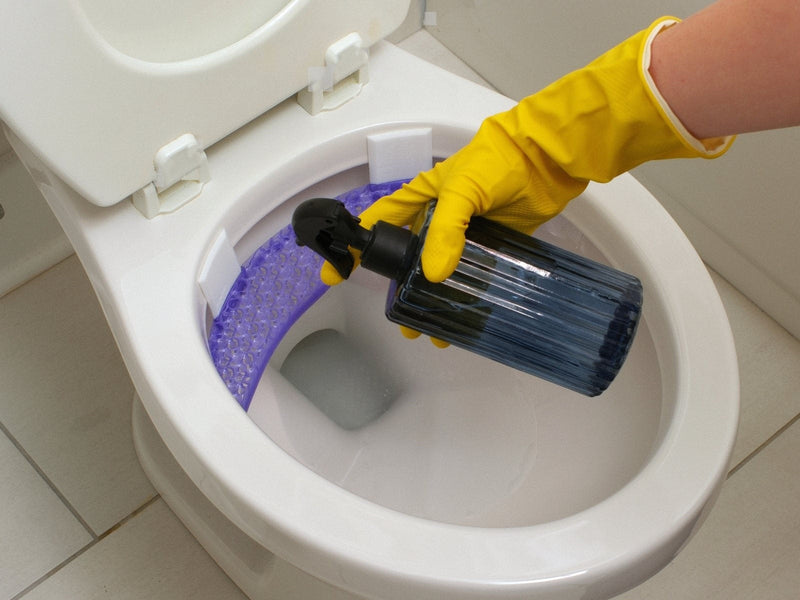
Clean the Stache
Spray the mustache with a mild, bleach-free cleaner. Mustache only, never the connectors.
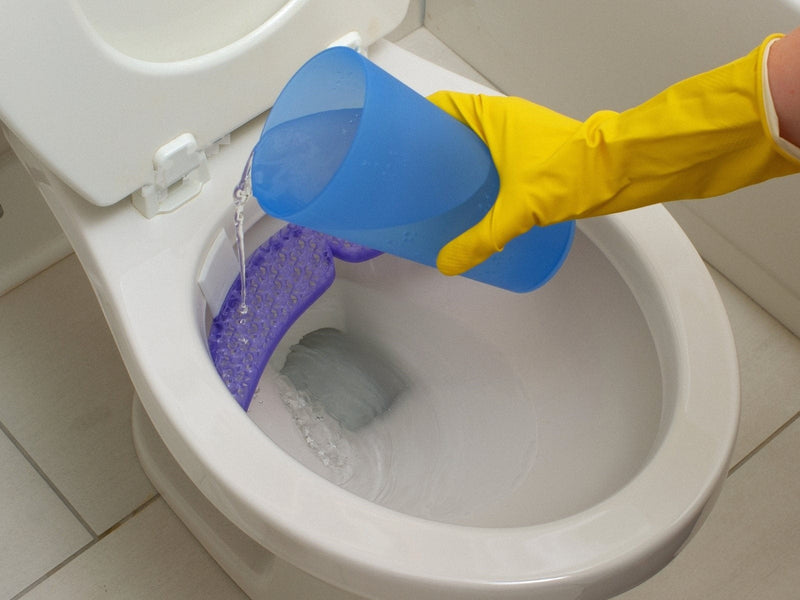
Rinse the Stache
Rinse the mustache gently with plain water to clear off any leftover cleaner.
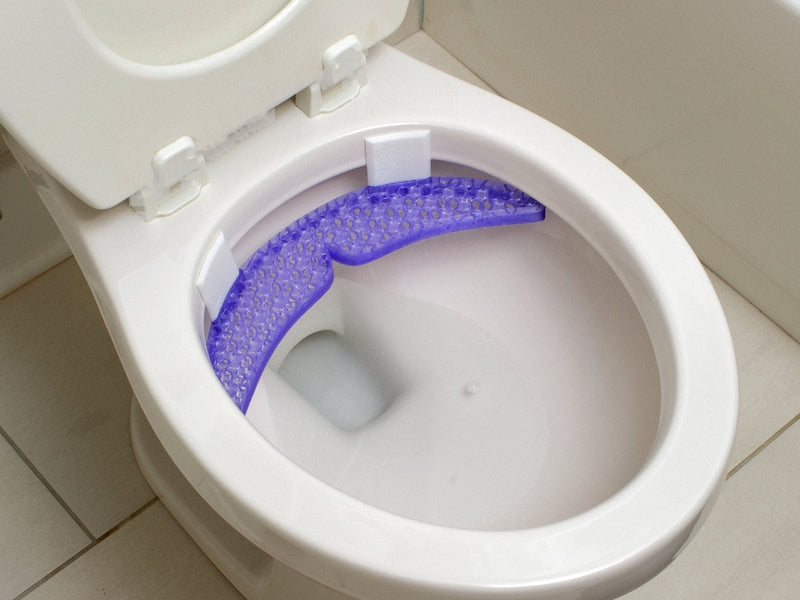
Repeat as needed
Clean whenever it needs it. Same routine each time.
If something lands on it.
The height and placement keep this from being a thing. But if something does land on the Stache, here is the play.
-
01
Flush first.
Clear the bowl. Take a breath.
-
02
Spot clean in place.
Spray with the same mild, bleach-free cleaner. Wait 30 seconds, then wipe with toilet paper.
-
03
Rinse with hot water.
Pour hot water from a cup over the spot until it runs clean. One or two passes does it.
For a fresh scent, lightly mist the mustache with a few drops of lavender, eucalyptus, or citrus in water. Let it dry before use. It will not affect the mesh or the adhesive.
The mesh does its best work when it is fresh. Swap in a new Splash Stache every 6 to 9 months.
Before you ask.
How does the Splash Stache stop splash?
What toilets does the Splash Stache fit?
Will the Splash Stache damage or stain my toilet?
Can I use the Splash Stache right after installing it?
How do I clean the Splash Stache?
What if something lands on the Stache?
How often should I replace the Splash Stache?
What if I can feel the Splash Stache when I sit down?
Do the alignment stickers stay on?
Stache up. Splash down.
The Splash Stache comes in Blue, Green, and Purple. One product, one simple price.
Shop the Splash Stache · $26 →